Lots of companies are working on VR, and we’re led to believe that this is the defining technology of the near future. I’m an optimist when it comes to new technologies, so I wanted to try it out to get a status of where we are today.
My background in VR is not great - I tried a giant helmet once in the 90s at a technology fare. It was a very pixelated rollercoaster, it was all very interesting, and nothing became of it. I tried a VR setup in a Medialogy lab ca 2007, and it looked better but it was mostly a very expensive way of doing storytelling with better immersion.
The reason I find VR interesting today is that it has become cheap, because you can use your smartphone for all the tech and just add some lenses via Google Cardboard. A DIY kit can be had for a dollar or two on Amazon, and complete headsets can be had for $20. To really give it a shot, I bought what I thought was a high-end one for $59, that according to the reviews I read had the best immersive experience. It was the BoboVR Z4 from HyperShop
The BoboVR Z4 comes with a headset for 3D surround sound (how this is not just plain stereo, I don’t know), and the connector was neatly tucked on the left hand side of the device, very easy to connect. That requires, though, that the iPhone 6S Plus that I connected is oriented in one orientation. Such a shame that virtually every app I installed required the phone to be oriented the exact opposite way. Oh well, I ordered an extension cord from Amazon and that was that. It also comes with a button I can tap on my helmet, but that button was extremely unreliable, working the first tap or two and then working less and less. But it’s the wrong place for a button anyway, so I ordered a game controller via eBay that I can hook up. I have no idea if this is the preferred setup for VR, but this is what I explore the VR world through.
Now, what do I want from VR? I’m a developer, so I’d love to treat it as a giant monitor and have a window manager that would let me juggle terminals and text editors in a more productive way than I do at my 5K iMac today. I expect this VR experience to be roughly the VR equivalent of what fvwm and xterms were for a desktop experience back in the days where X11 was my environment.
Other than that, seeing videos in 3D, or where it makes sense, 360 degrees videos, would be interesting. And although I’m not much of a gamer, I know there is much VR exploration going on there, so I’d love to be blown away with a good game that really utilises the immersiveness in a (to me) novel way.
I searched the App Store for VR and downloaded about 200 apps and games (for the rest of the post I’ll just call them apps), some paid, some free. I wanted a good mix to see what was going on in this landscape. I won’t call out many apps in particular, but give you my general experience.
There are many not particularly good apps in the app store, and the VR apps are no different. I expect there is a blog that could help me sort to the cruft, but I had already dived head first in before thinking of this. ;-)
Input is something that needs working on, especially head input from head movement. Most of the apps I got expected you to do rather large head movements. That means more work for the user, more chance to bump into things, and you needing more space. I want more fine-grained control with smaller movements, so that I can do most things sitting on my couch instead of having to stand beside my couch to be able to turn all the way round.
Even though mobile phones aren’t heavy, wearing it together with lenses and headset feels a bit heavy in total. That limits how long a user can use a VR application before being fatigued. Speaking of fatigue, wearing a setup like this for an hour is both eye straining and warm. I have no input on how that could be solved, so for now, doing serious work on a virtual 3D-space of terminal windows seem illusive.
While the idea of using a mobile phone to power the VR experience seems good, it won’t be really good until the operating system on the phone embraces VR. At the moment there are annoyances to downright interruptions from having notifications come in, the occasional vibrating of the phone when a mail arrives, or even worse - people calling you (it’s a phone - that’s what people do). So to get a good experience, you need a dedicated phone for VR apps, which totally defeats the purpose of a cheap entry-level VR system.
Another part where the need for OS-level VR integration is glaringly obvious is that many apps move back and forth between VR and non-VR interaction. This is really bad, because that means taking the headset off, putting my glasses back on, opening the headset, disconnecting the audio cable, taking the device out, fiddling with the interface while holding the headset, putting the device back in, connecting the audio cable, closing the headset, removing my glasses and putting the headset back on again. What kinds of stuff do they require this for? Clicking away from an ad, choosing a new level or scene, settings, etc.
Lastly, I have a QR code that about half of the apps want me to scan on first launch so they know what headset I have and can configure accordingly. The OS should know, and I should not have to carry a QR code around. To fix that last issue, I’ve glued it to my VR headset. Guess what headset doesn’t look all nice anymore? ;-)
Remember I told you about the giant pixels in the 1990s? Well, the pixels are still here. Not as giant, but still very, very visible. I was using an iPhone 6S Plus which has a Retina display of 1920x1080, or 401 DPI. Retina is marketing speech for not being able to see individual pixels in the distance you’re expected to have the device from your eyes. Having the device in a VR headset changes this distance dramatically, so this is not a Retina VR experience at all. So we should expect the resolution game to continue at least until we reach Retina level for VR. This must frighten my iPhone 6S Plus, because when running VR experiences, it runs pretty hot doing all this GPU work - and I just told it that it needs to do a whole lot more. And it needs to stop running as hot, because VR is quickly eating up my battery. That needs fixing too.
One experience I liked a lot is apps that use the camera to give me an augmented reality experience. This can become nice a whole lot nicer when we get more wide-angle lenses on the phone and photo sensors allowing more wide-angle video than what the current crop of phones do.
So this is what I’ve found so far. My experiment is of course not done yet, so I’ve ordered a VicoVR Sensor that has an estimated delivery time in november 2016. For wanting more fine-grained motion for input, attaching a full-skeletal tracking system is probably going the wrong way, but it’ll be interesting to try out.
Welcome to my website. The reason I have a website is that I like to maintain a space where you can find my content. But the way I use the internet, which is not so different from so many others, I leave much of my original content in places like Facebook and Twitter. I don’t mind sharing, if I did I’m sure this content would have been behind a paywall and no-one would read it, but I do like to remain in control of it. When I give it to Facebook and Twitter, they can do more or less what they would like with it.
I’d therefore like to put it out there that I’m investigating options to have what I write there appear here also. Either as a carbon-copy, or even better, with this space as the original source. I could do that as a separate micro-blog feed, but I think that I perhaps prefer embedding it between the blog posts. We’ll see, that’s what I’m thinking so far anyway
Let me know what you think and how you deal with this, preferably as a post that you have full control over on your own site :-)
I’m leaving Trifork to start working on Snapsale at Skylib. I will be taking over their iOS code base. I’ve taken over maintenance of many codebases before, and I thought it was time to describe my process.
I have two goals for this process:
This piece is a bit lengthy, and I’m not saying I’ll need to do it all on Skylibs code, nor should this be seen as a fixed guide to any project. I do recommend following the same steps for anyone taking over code that I have maintained at Trifork, so it is also not meant to be any judgement. It is simply a description of my current process for accomplishing these two goals. With that said, let’s go through the steps:
Step #1, the most important step, is to gather a list of features and use-cases, so I understand what the app does. So far I have never been able to complete this step, I always come back to add to this list later, and I really wish I could become better at this step. It really helps every step going forward.
Step #2, does it compile? Very often it does not. It depends on something installed on the developers computer he or she took for granted (hello protobuf), not everything was committed because of a too loose .gitignore file, or the project simply hasn’t been maintained for long because the customer was happy with it being in the store and did not want any expenses maintaining it without there being a “fire” or a new business-critical feature
Step #3, run and read all the tests. Do the tests cover the list from step #1? If so, I am forever in the debt of the author I have taken the project over from and he or she is now my personal hero. And I’m happy to say I have a few of these heros.
Step #4, get the certificates and accompanying private- and public keys and put them in a separate keychain file (without a password) that I’ll commit to the repo. If you have been granted access to the repo, I’ll want you to have this information.
Step #5, are there any build scripts? If so, do they run? Do they work? I’m no wizard at reading shell scripts, but I need to understand what’s going on during my build.
Step #6, is there a build server? If so, make sure I have access to it and that I can trigger a build and understand the process of what is happening to it.
At this point, I have gotten to know the project a bit, and I know what makes it tick. Now I will begin pruning away what I don’t think belongs in the project and improve on the code, in order to improve maintainability. It being more maintainable will help me understand the code more in-depth later. So let’s get at it!
Step #7, take control of dependencies. All too often I get a .xcodeproj with a lot of external code and libraries thrown in and hacked together into the build. This is no way to live! If I’m lucky enough to be able to talk to the original author, more often than not I get the line “I used to be a Java developer, and I got stuck in Maven hell”. I feel for you, bro, but this is not Java, and managing dependencies does not mean downloading the internet Maven style. And doing it by hand is probably not managing the at all.
CococaPods is great for managing dependencies. So I will gather a list of the dependencies, and write the list of them in a Podfile. Then I will use CocoaPods to manage these dependencies and remove them from the .xcodeproj. Usually the dependencies that were there are embarrassingly out of date, often exposing know security holes or just not supported any more by their service providers. Yes, I’m looking at you, AFNetworking, Facebook, Flurry and Fabric. So I will try updating them all to the latest version and see if it compiles with only minor modifications. If it does, great. If not, I’ll evaluate whether I should back down a couple of versions, or whether I should accept that the app is now broken and work to fix that. And even if they work, I’ll need to compare it to what was in the release we had at step #6 to see if this has given unintended consequences. If it has, back down to the original versions (although still in CocoaPods) and make a ticket for upgrading these in the task management system I use.
Yes, I will check in the Pods directory into the repo. I want to be able to check out the repo and have it compiled on any Mac with Xcode installed - I don’t want to depend on neither CocoaPods nor the internet.
CocoaPods is great at compiling a list of acknowledgements in either plist or markdown format. Too often these are not reflected in the app, so I’ll make a ticket to include them, either in an About page or in the Settings bundle.
Finally, if Core Data is a dependency, I will usually add mogenerator and Magical Record - my go-to tools for making Core Data easy to handle and maintainable. And yes, I’ll include the Mogenerator binaries in the repo.
Step #8 is cleaning up the Xcode project and git repo further. I’ll remove any accidentally committed userdata, .DS_Store files, .bak files and other temporary files. I’ll add entries in the .gitignore file so they don’t reappear.
I’ll remove code that has been commented out. If I’ll ever need it (probably not), it is in the repo and I can look it up there.
I’ll turn TODOs, FIXMEs and the like into warnings. If it’s an all Objective-C codebase, I’ll turn them into #warnings, if there is Swift in the project I have a little script that will turn these into warnings at build time.
Lately I’ve explored having a scheme that will build with the latest SDK as a project that will only run on the latest iOS version. I’ll run this on a build server, and this will make any deprecated methods or constants light up, so that I can be sure not to use them anymore.
Step #9, readable code. I’m sure the code you write is consistent and easily readable. While that is my goal too, it is hard to be consistent. But code is written to be read, and having a high degree of consistency and low variability accross projects makes for an easier read. That’s why I love Uncrustify. Uncrustify will take a config file of how the code should be formatted and apply that. This means that all code will read the same, making me only having to read what is actually going on in the code, instead of parsing different syntax from code to code.
But Uncrustify can’t do it all. So after that I’ll go through the ivars and make sure they have an underscore as a prefix, just like we’ve been taught. It makes it really easy to see what are ivars, without having to resolve to workarounds such as prefixing them with self->. At the moment this is the only task I’ll take out AppCode for. I probably should spend more time with AppCode and find other areas for it, but for now, this is where it shines in my toolbelt.
Step #10 is reducing the number of targets. Targets are high-maintenance. They drift apart and have buckets and buckets of options. Chances are you only want every few of those options to diverge. This is why I prefer configurations and schemes instead. If there is some variability I cannot fit into this, I’ll use my PreBuild tool, and with this in hand I’ve been able to deliver many apps that share a code-base but diverge in both features, looks, app store details and languages. The benefit is that this is just configuration, expressed as JSON, and thus easily followed over time in the git repo. In contrast to your project.pbxproj.
Step #11 is grouping functions belonging to a protocol together. For each Objective C class, I’ll run use #pragma mark for each protocol, and for Swift I’ll use class extensions.
Step #12, while grouping functions, this is a great time to remove dead code, meaning code that has been commented out, that can never be reached or which isn’t included in the compile.
Step #13, another thing that I’ll do at this time is looking at the class interfaces and see if only what should be public is public, and possibly refactor parts into a protocol. Then I can begin writing missing tests to ensure that I’ve understood the code correctly.
This step is one of those usually-never-complete steps, and I’m not going to be too rigorous about it. If I can devote a week or two in a medium sized project, this is usually well worth the effort. It’ll increase my knowledge of the code base, and reduce technical debt at the same time
Step #14, understanding how State is managed in the app. Usually this is too intertwined in the code to reasonably be done anything about, but at least I should understand it. Then as I write new code, I’ll probably transform it slowly and try to bring those changes back to the old code. If there is one thing I’m really holding my fingers crossed for when entering a new project, it is good state management. And to be perfectly honest, I haven’t quite figured out what that is myself yet. But I’m confident that I’m on a good path.
Step #15, warnings. Another thing that is good doing at this stage is fixing all those warnings that either were in the project already, or that cropped up because of TODOs and FIXMEs. Also, rigorously running build & analyze probably yields interesting code paths. And finally, run instruments to check for leaks and other memory buildup, high CPU or GPU usage, and framerates dropping below 60 FPS on the target devices.
Step #16, dependency injection. Scary word? Not really, it’s just creating properties that can be populated by whoever creates an object, and that will be used instead of the singletons that too often litter an iOS project. This is usually counted as minutes per class, and makes the classes so much more testable.
Step #17, when refactoring, if there is no logging framework beyond print() in Swift and NSLog() in Objective-C, I’ll probably include CocoaLumberjack. Also, if there is an analytics library, I’ll probably add the ARAnalytics wrapper so that it is easy to add another one if it provides interesting metrics and services. My current gang is Flurry and Fabric.
Step #18, move graphics into asset catalogs, and make sure all the graphics are there. Way to often there is just the @2x.png file, which of course is no good as it’ll slow down slow non-retina devices, and look blurry on @3x devices. More often than not I will ask the designers to re-create all the files as PDFs, and use them in the asset catalogs and have Xcode create PNGs for the different resolutions.
Finally, step #19, is to move code into components. There are three parts to this: if there are any parts (usually custom controls) that can be moved into a CocoaPod, this should be done at once. I’m not saying it has to be open sourced, having an in-house repo is just fine.
Then the code that can be shared between extensions and apps for other platforms such as Apple Watch or OS X should be moved into a framework.
At last I’ll move the rest of my app code into a framework. I do this so that I can import it into a Playground and use the Playground to work with views and animations instead of having to do compile-and-run to show a proof-of-concept or navigate to the place in the code where it is being used. This should make me more efficient when working together with the designer.
Wow, that was a lot of steps, and a lot of important work to do. Some may be redundant because it has already been done, others may be deprioritized because of project constraints. Sometimes it is fine incurring more technical debt in order to get to market. But if I get to do it my way, this is what I will do - and I’m sure I’ll have a better understanding of the project, and a more flexible project for it. Which means being able to more reliably deliver those new features and versions month after month.
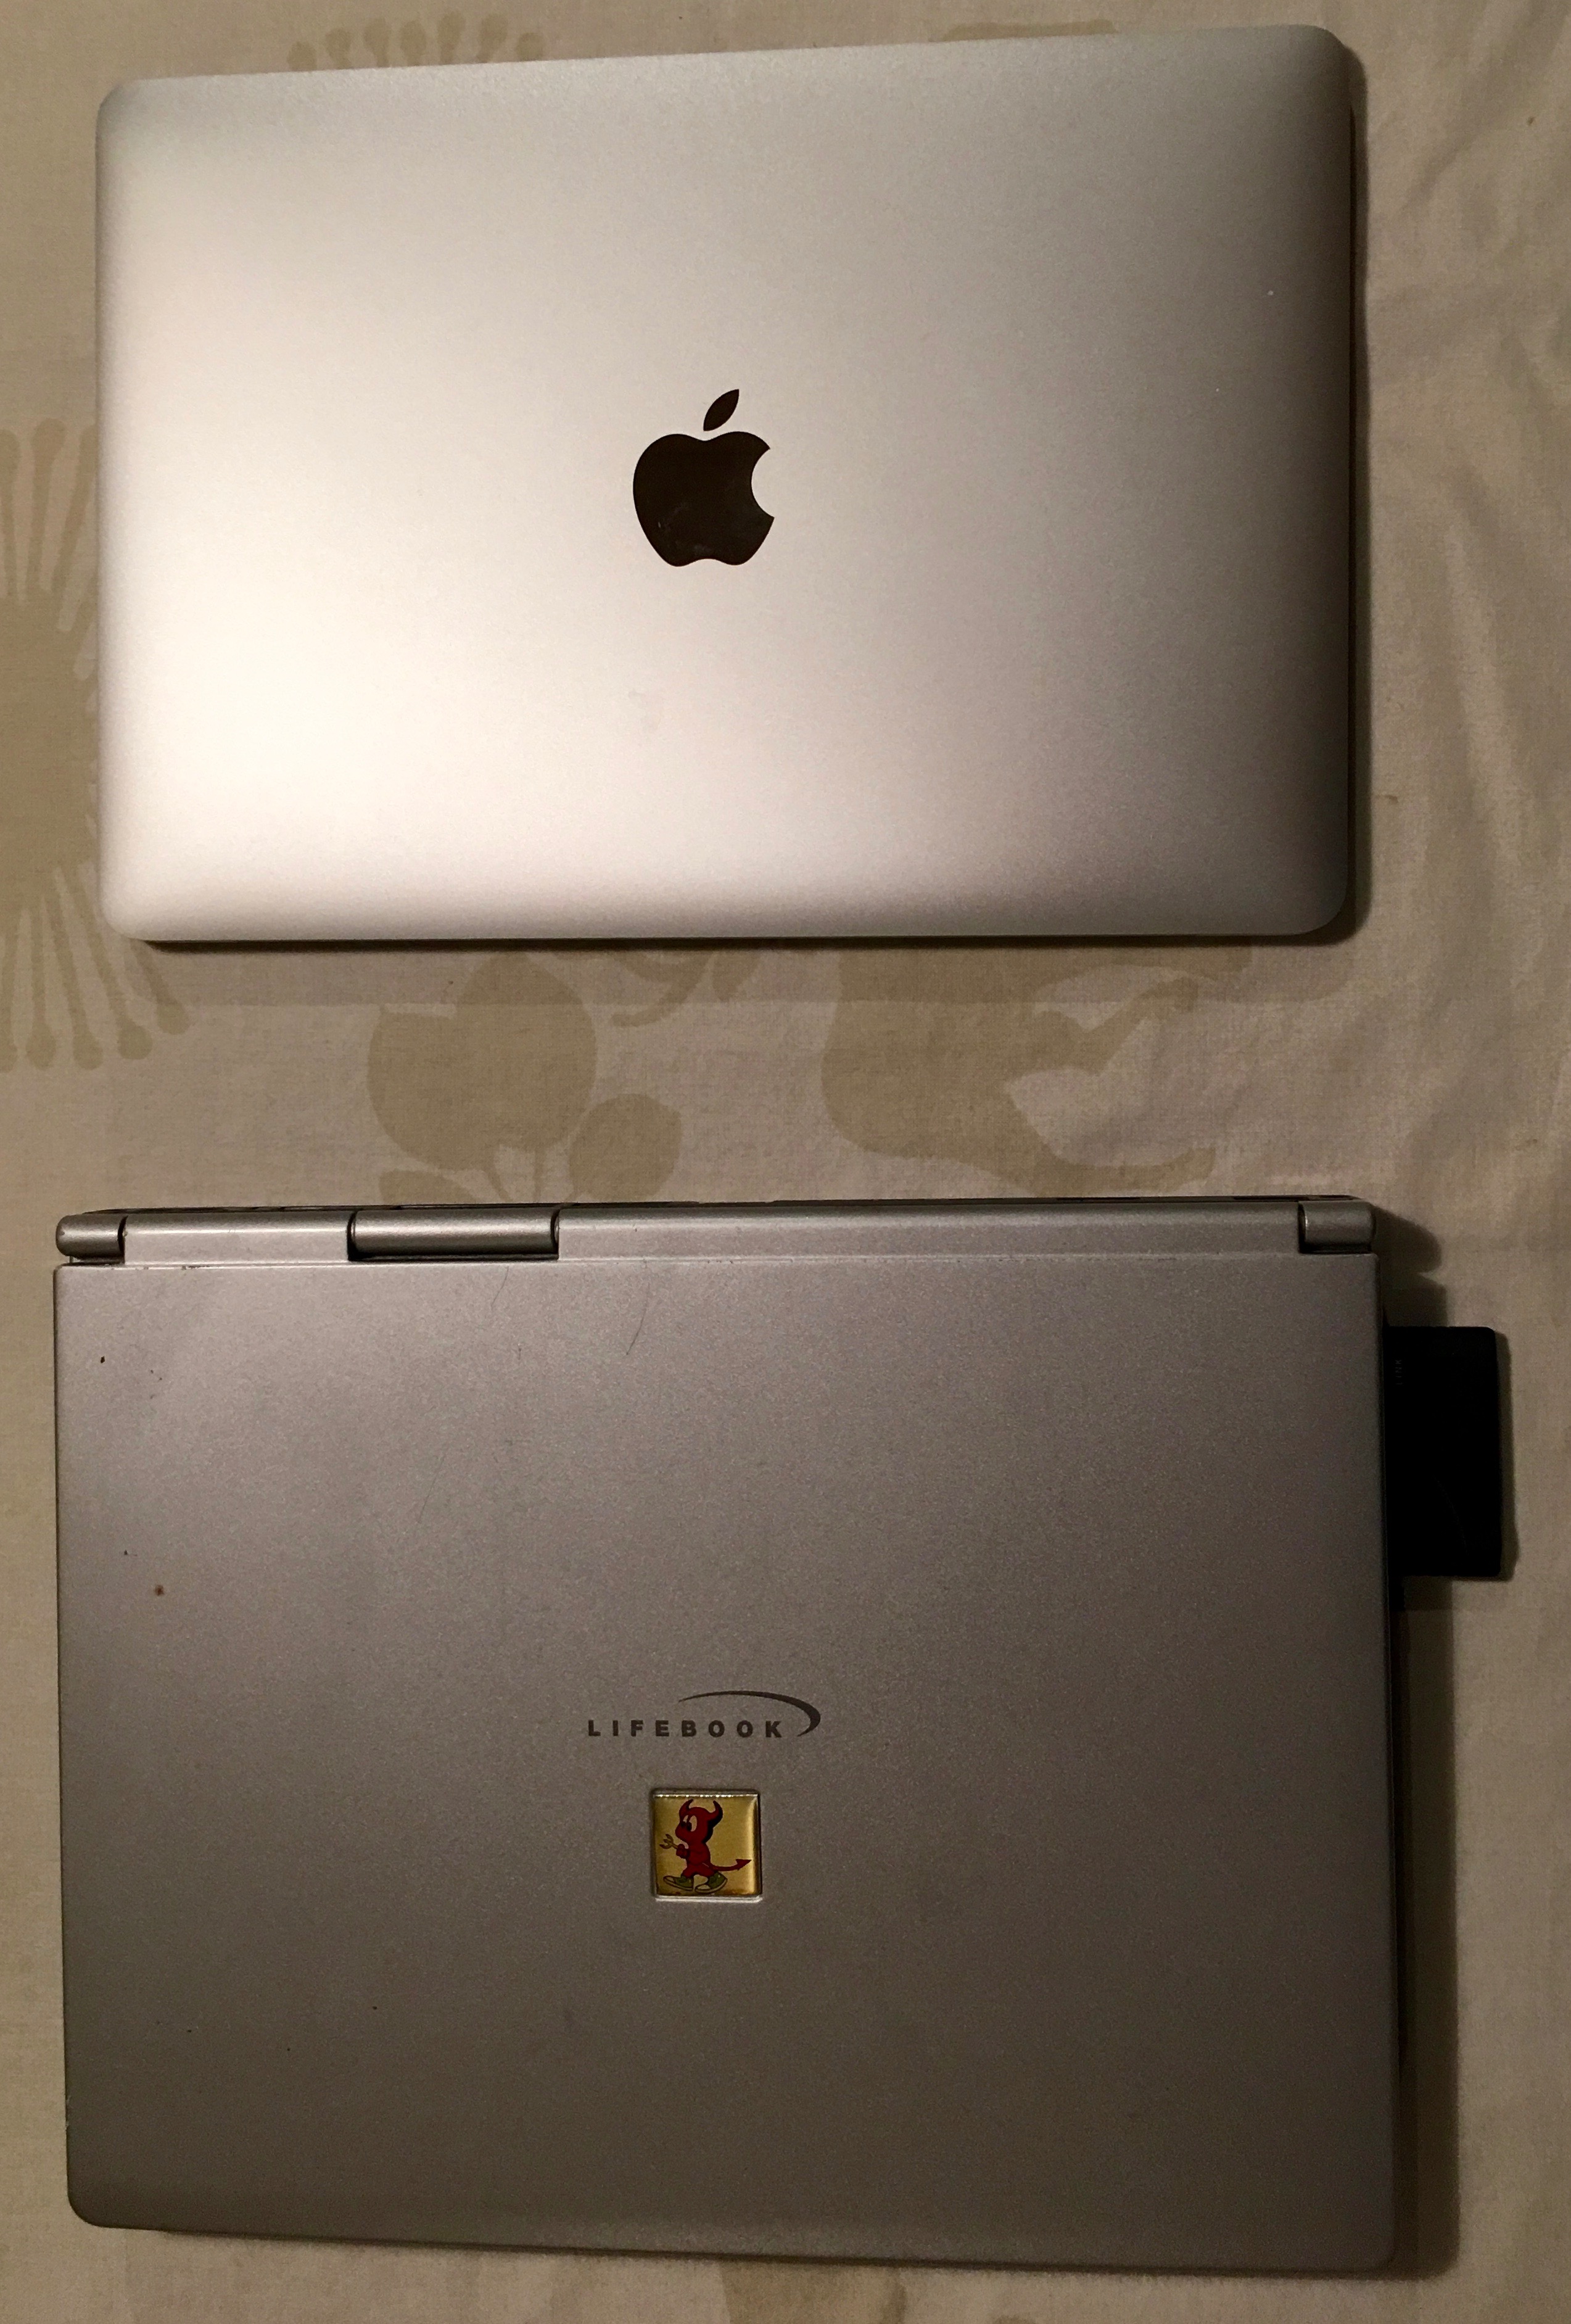
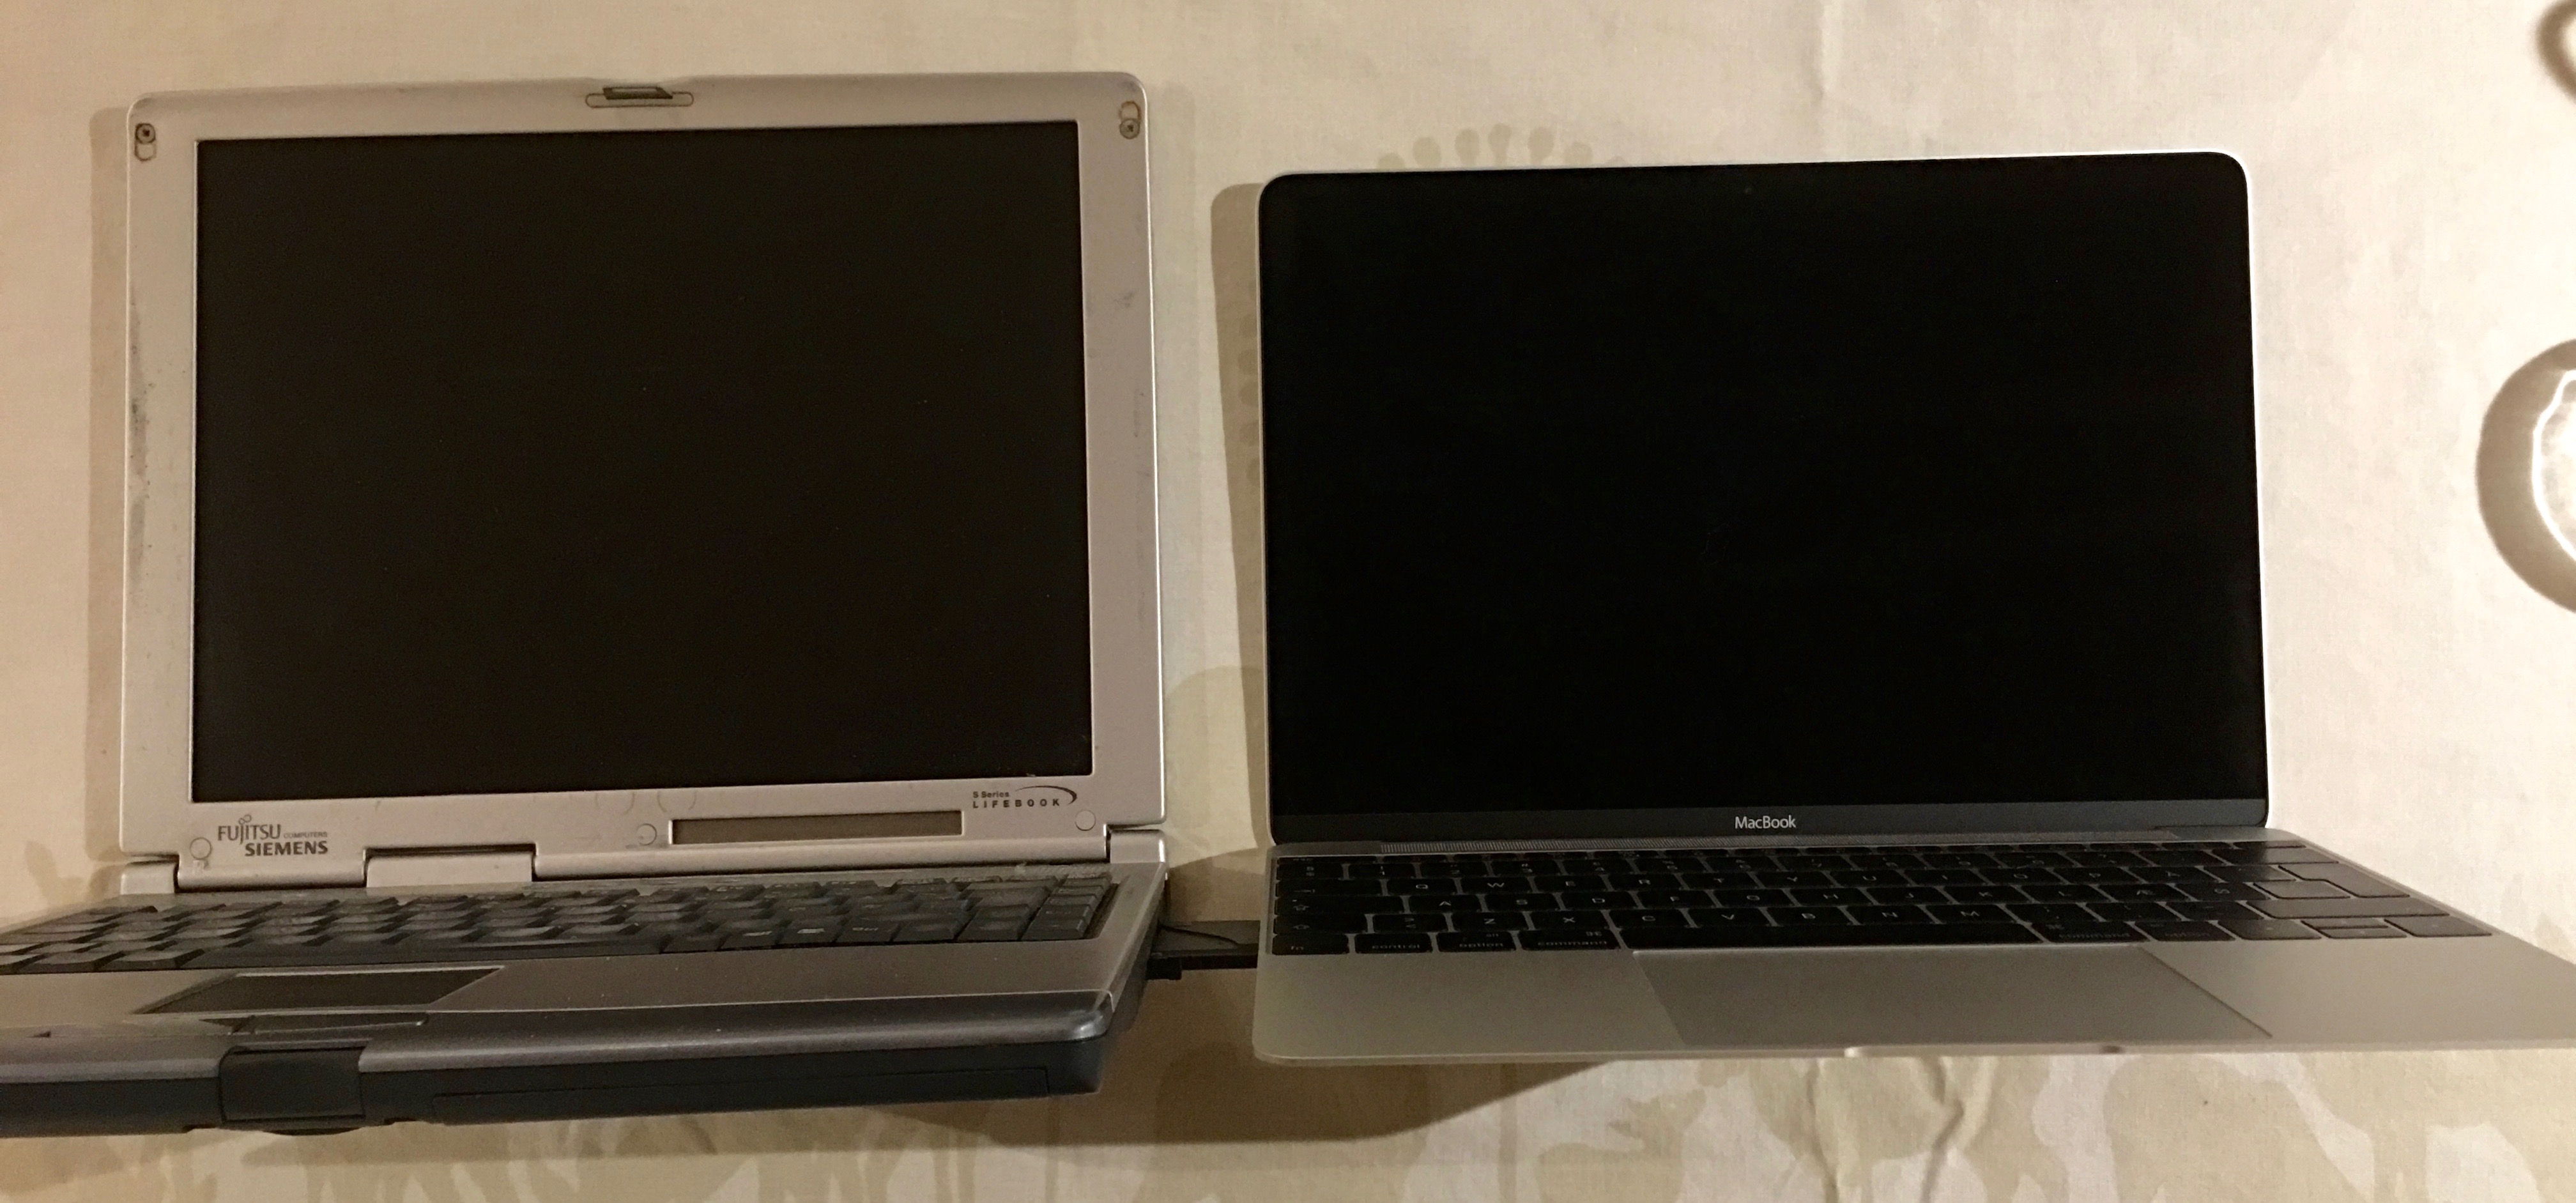
I’m setting up my travel computer for work, the retina Macbook, spring 2015 base model. It’ll be my travel Xcode companion. It’s the first 12” laptop I use since the one I Fujitsu-Siemens I bought in 2000 before travelling to Australia. The Fujitsu-Siemens was an ultra-portable Lifebook S-4510, by far slimmer than the average laptop of its time - I knew no-one who had a slimmer one for years. So I thought it was time to compare dimensions. And, well, this laptop was thinner in my memory than sitting side-by-side the Macbook

Live Photos is one of the most interesting new features of the iPhone. The iPhone is the most used camera I have, because it is always with me. And until now I have been quite all right at taking the photos I want. Live photos adds a time dimension to my photos, and this means I have to re-learn what it is to compose a photo, what it is to frame a photo, what it is to shoot a photo.
Right of the bat, the first thing I wanted was to bring a tripod with me. Because even though I could capture the movement in the situation, I actually caught a lot of movement in my hand. And this is on the iPhone 6S Plus that has image stabilization. Obviously I’m not going to carry a tripod around, but it means I have to re-learn how to hold the iPhone while shooting a photo.
Apple proposed that this feature gives context to the photos, but the fact it can be used for a lock screen and as a Watch face means that the entire live photo is your composition, not just a photo with context. I think I’ll read a bit up on how people shoot short video clips to get a couple of pointers for framing and composition.
So, time to learn more photography
Follow Me
Follow me online and join a conversation